Working with 3D Puff Embroidery – Part 3
Embroidering Puff Designs
Reminder: Choose the Right Foam
Now that you have learned the basics about 3D embroidery, let’s learn how to best embroider puff designs.
Before you start, you must first purchase foam right for your project. Foam is what gives the design its loft. We recommend that you get the foam specifically from an embroidery supply store. Do not use any craft foam as it won’t work for 3D puff embroidery.
The most common foam height is 3mm, but depending on brands, you can also get 6mm or even high density foam which will give you a more rigid vertical edge.
Match the color of the foam with the top stitching. Foam can peek through, so the closer the match, the better the end result. Get familiar with the colors available, since they are limited.
Prepping the Project
The steps needed for embroidering a puff design fuss free are:
1. Programming the machine to stop between colors
2. Securing the foam
3. Cleaning up in post production
Programming your colors and color stops
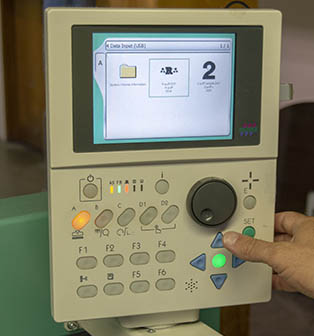
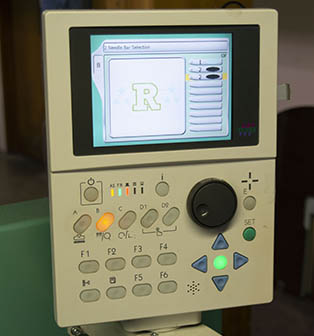
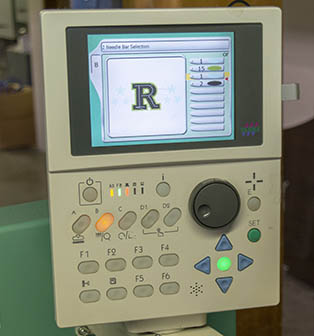
Load your design onto the machine. Select the design and program the thread colors. If you have ever done an applique or patch attachment, you are probably familiar with how to make your machine stop between colors. If not, then check your manual on how to do this.
You want all of the flat areas to run, then stop before it gets to the embroidering of the top stitching. On your machine, program the color stop between the flat color segments and the puff area.
| Step 1: Find and upload your design | Step 2: Program your colors | Step 3: Program your color stops |
|---|---|---|
 |  |  |
Securing the foam
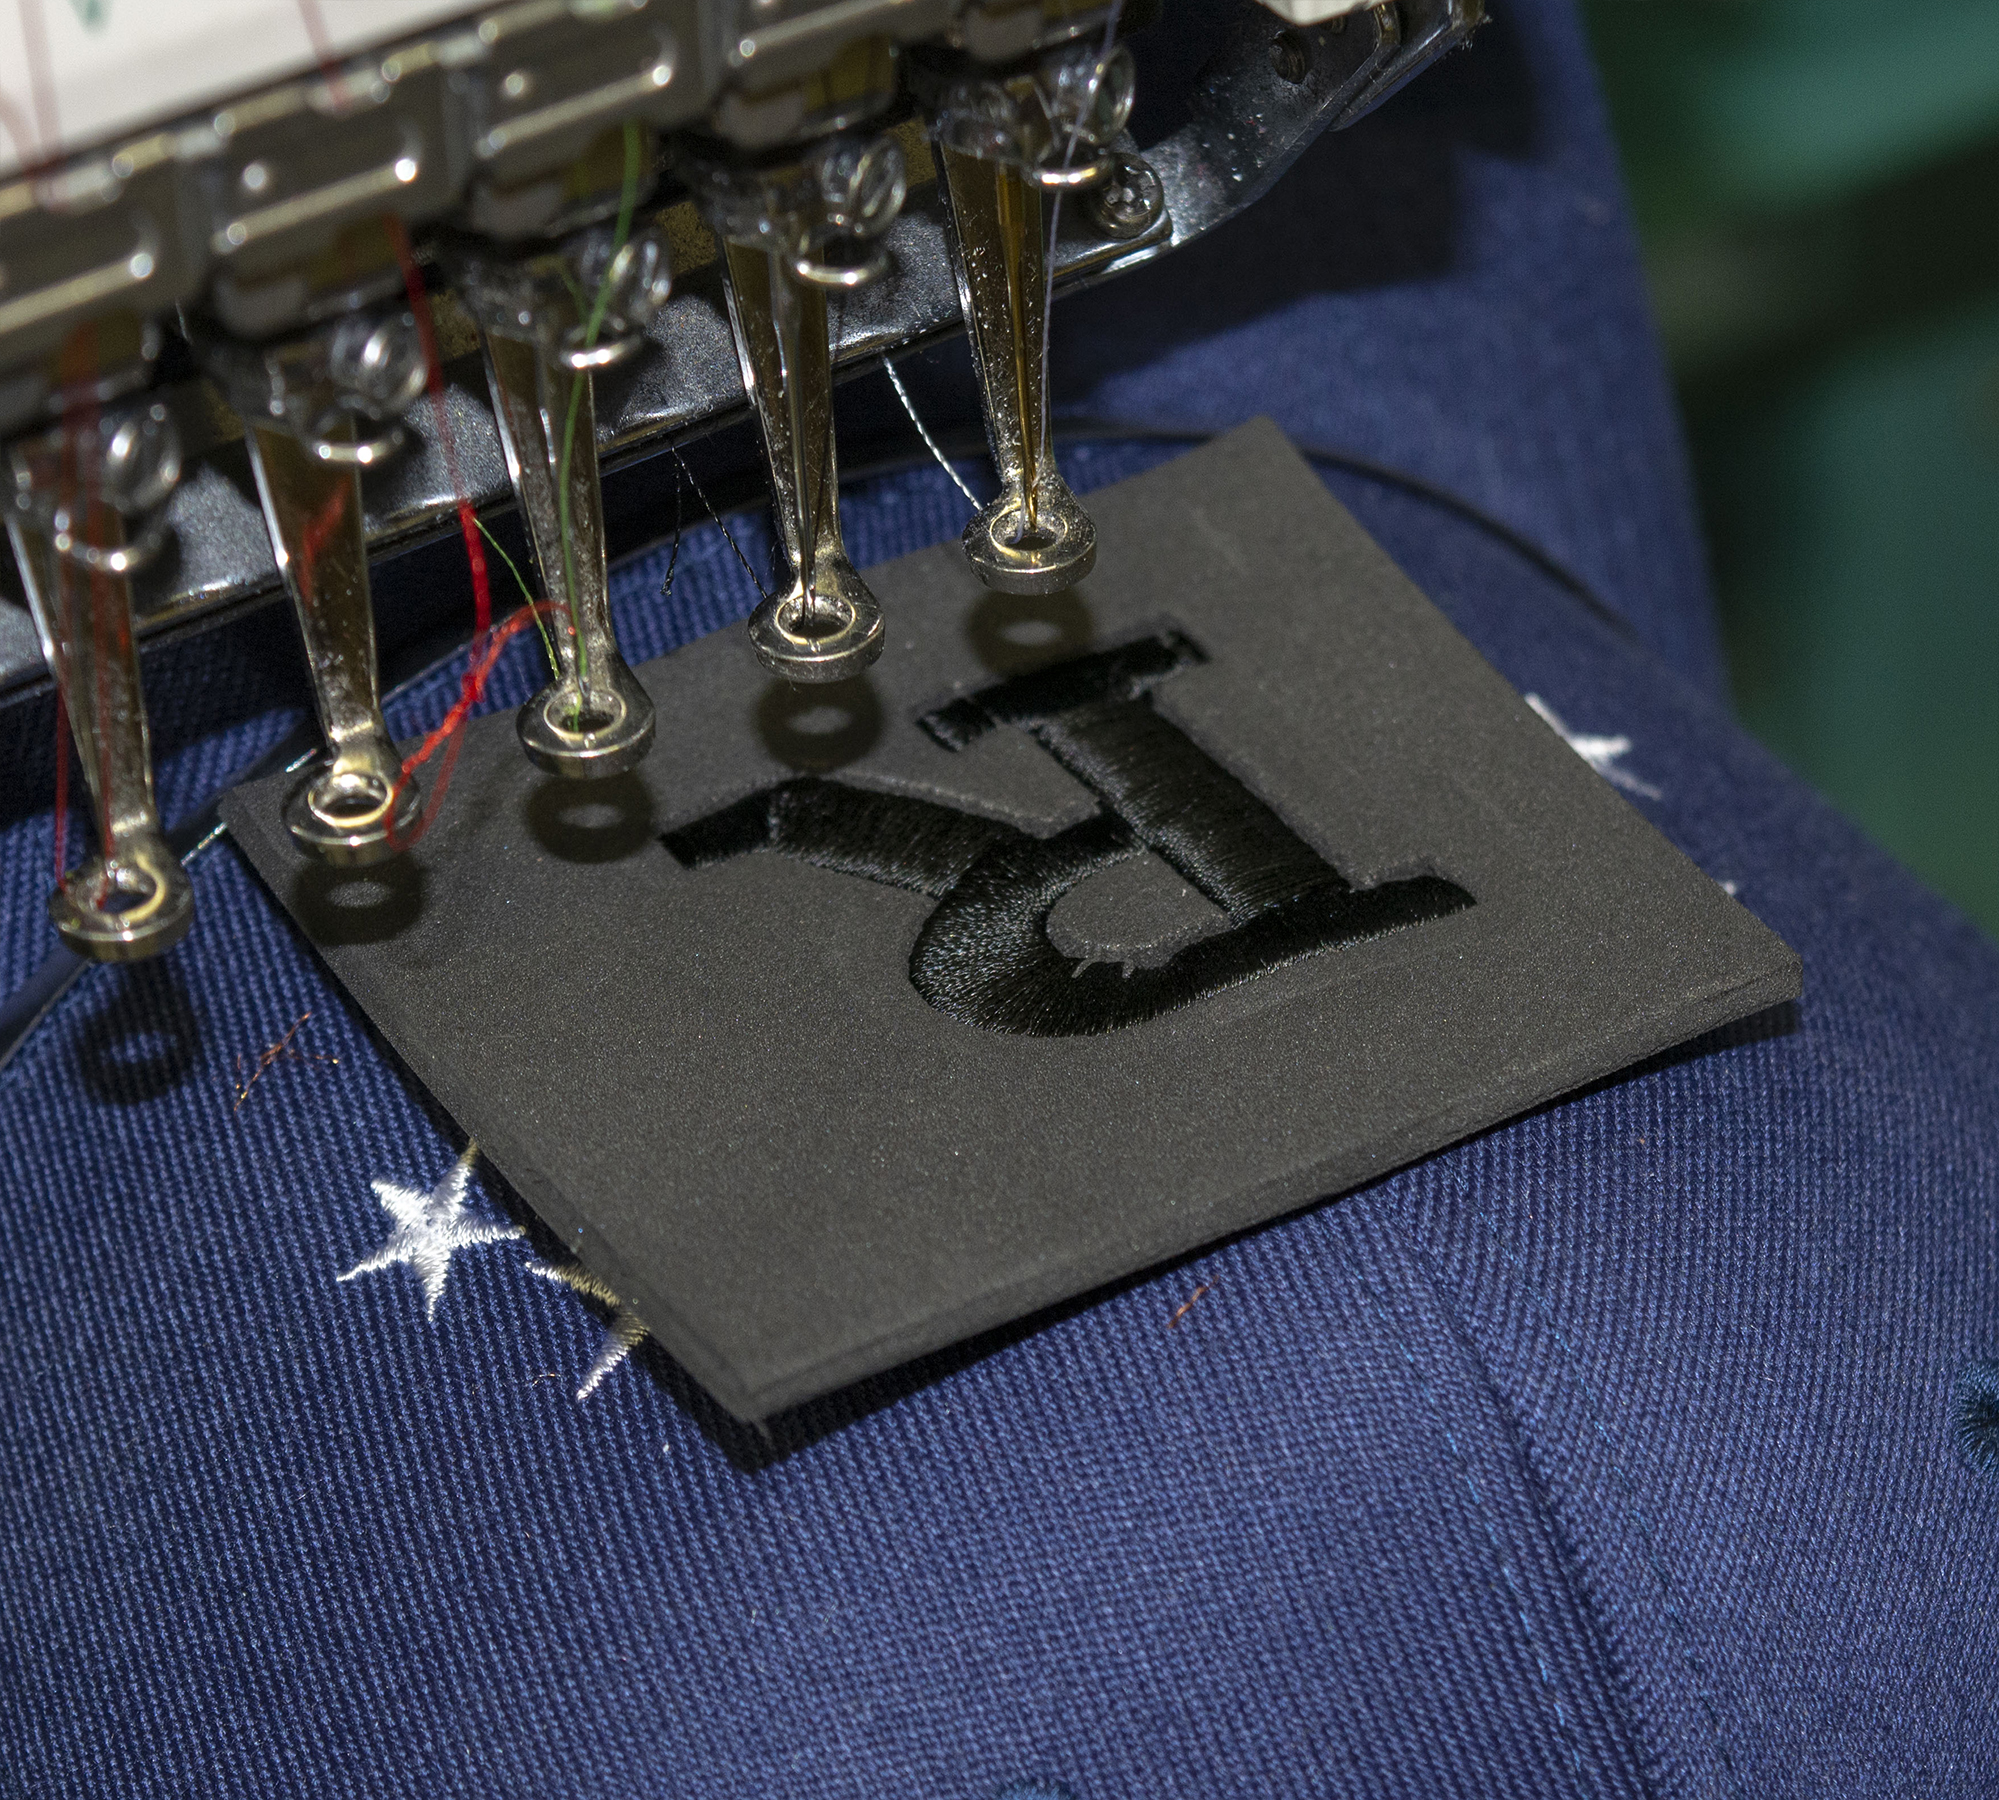
So you have the programming done, now what? Just hoop your garment, put it on the machine and press go. When the machine stops, place down your foam. Secure it as much as possible, I like to start with a quick burst of spray glue on the back of the foam and tape on the corners if room is available.
On hats specifically, I recommend a Broccoli Bunch rubber band going around the hat securing the bottom of the foam. If the foam bounces around too much, it could result in a loose looping effect on the top stitching.
| The machine will stop after all the flat areas are finished. | Place foam down and restart the machine. | When design is finished, pull out your hat to start post production. |
|---|---|---|
 |  |   |
The Finishing in Post Production
When the design is finished, unhoop the product and begin the post production process.
1. Pull any excess foam from the product.
2. Apply a heat gun to the cap in a quick circular motion (be careful, concentrating on one area can result in melted thread or even a charred hat.) This will help shrink some of the foam bits that may be showing.
3. Use a sharp implement, such as a needle or the point of your thread clippers, to push the foam back behind the top stitching if there are any pieces of foam still peeking out.
| Peel off the foam. | Carefully apply heat to the foam to shrink away the parts of foam that may peek out. | Push any remaining foam bits back in with a sharp implement. |
|---|---|---|
 |  |  |
So that’s it. Simple as 1-2-3.
1. Program the design with a color stop
2. Place the foam down when the flat area is finished
3. Clean up in post production
Watch for our next installment in this 3D Puff series, when we go through the rules of puff.
Author: Jesse Elliott
Over 30 years of experience in digitizing embroidery and screen printing


0 comments on article "Working with 3D Puff Embroidery – Part 3"