
How to Prevent Puckering in Fabrics
Puckering can ruin an otherwise perfect embroidery. Here’s how to avoid it, especially with tricky fabrics like performance wear.

1. Manage Satin Stitches
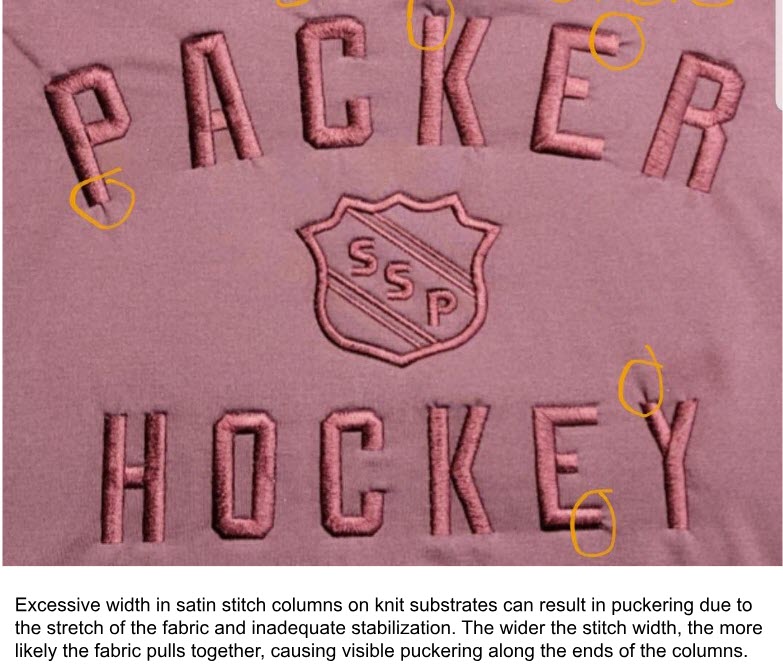
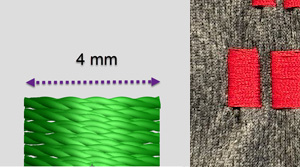
Wide satin stitches (over 4 mm) often cause puckering, especially on stretchy fabrics. Keep stitches under 4 mm to avoid pulling the fabric. The wider the satin stitch, the more likely the fabric will be pulled together. Dense areas of stitching can also lead to buckling, so simplify designs with too much detail in one spot.
2. Proper Hooping
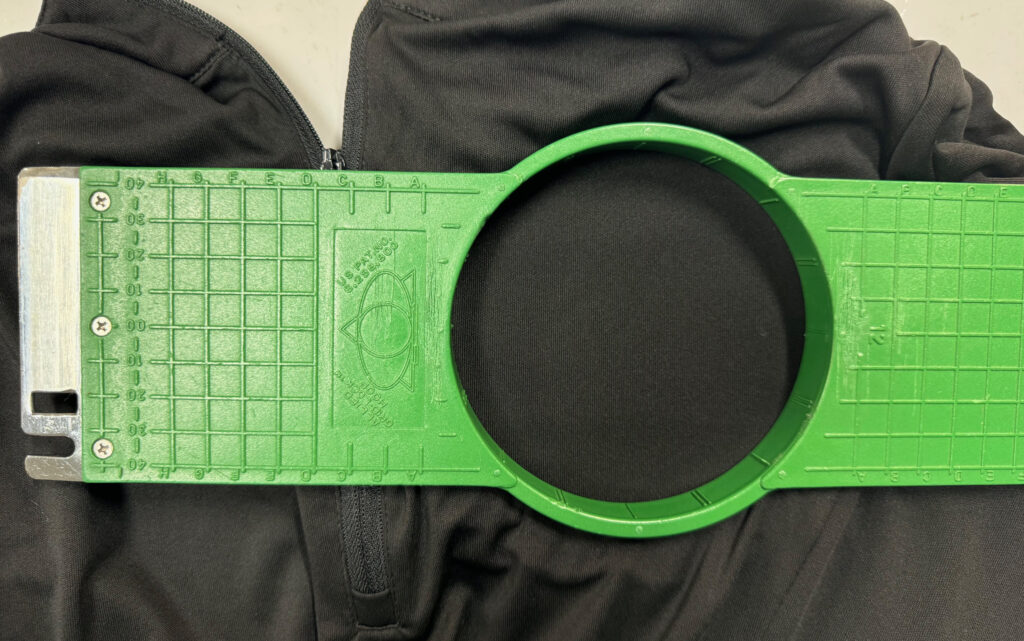
Using the correct hoop is crucial. A small hoop limits fabric movement, reducing the risk of puckering. Avoid stretching the fabric too tightly in the hoop—hoop it smoothly and evenly to prevent fabric from snapping back after releasing the garment.
3. Choose the Right Backing
Stabilize the fabric with the correct backing. Backing that’s too light allows buckling, while one that’s too heavy can pull the fabric down. Find a balance that provides enough support without overloading the fabric. Stabilizers can provide structure without weight.

Summary
- Keep satin stitches under 4 mm.
- Use the smallest hoop you can and avoid overstretching.
- Select proper backing to stabilize without weighing down the fabric.
With these simple tips, you can prevent puckering and improve the quality of your embroidery. If you have any questions, please contact us. We are here to help.
IGNITION DRAWING
DIGITIZING CUSTOMER SERVICE
Phone: 253 284 0733 Ext. 2
Email: digitizing@ignitiondrawing.com
0 comments on article "How to Prevent Puckering in Fabrics"