banner
User Icon Houston
/ Categories: Digitizing Blog
0
  Print

Small Lettering Guide – Part 1

Fig 1.1 Height of letters are determined by measuring the capital X. Also known as X-height.

With fabrics such as twill, denim, or nylon, embroidery does not sink much and generally floats on top of the fabric. This creates less of a need for underlay and shorter pull compensation, thus allowing us to go smaller with text than other fabrics.

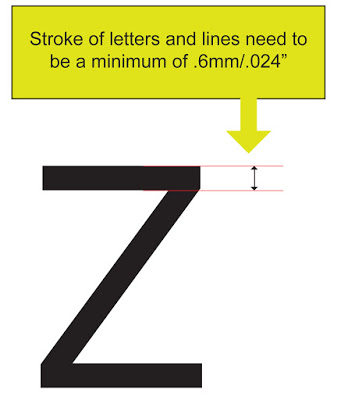
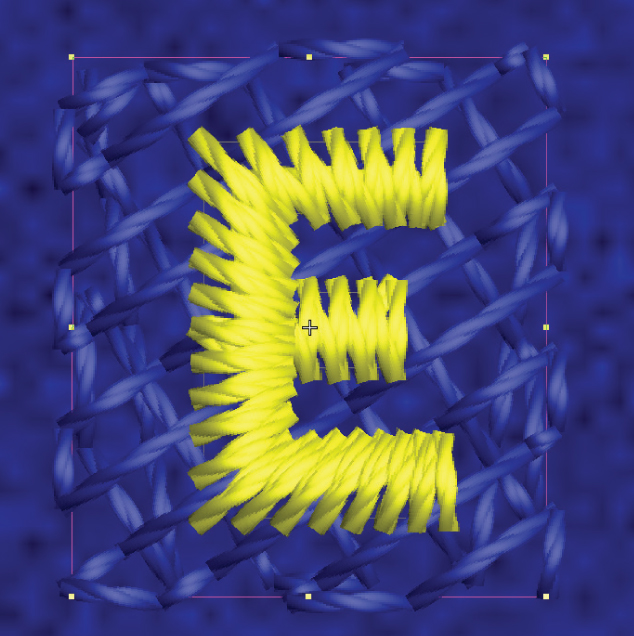
Absolute minimum height for all caps is 5mm/.18. Absolute minimum for upper and lower case letters is 6.2mm/.24″. Letter stroke can be no smaller than .66mm/0.24, as seen  below:
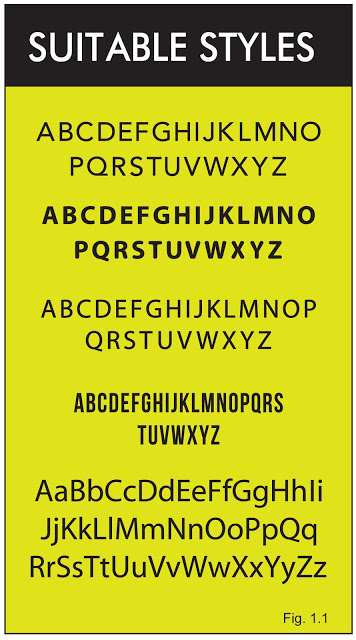
We do! Check out below the difference following our advice can make:
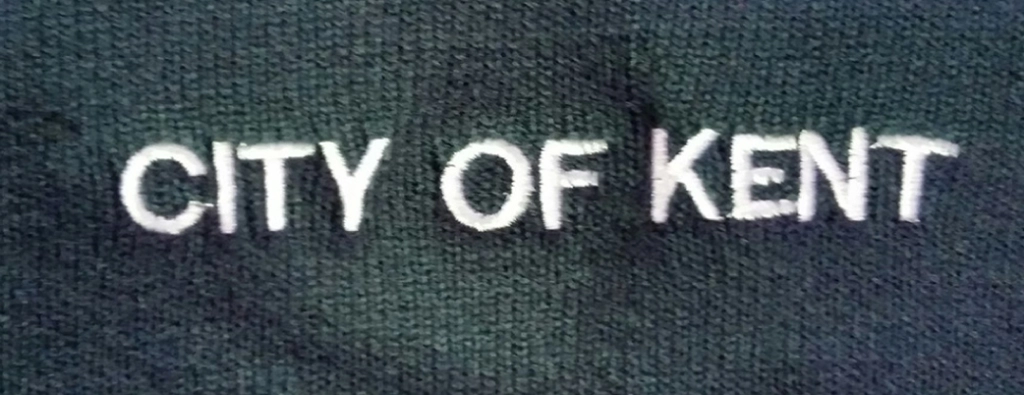
These designs don’t follow the rules, and you can see the corners of the text are pointy and pushing out, small letter quality is variable. Excessive underlay causes issues for them.
These designs were made following our rules. Letters look straight and even, with minimal underlay coming out and no misshaping.

Fabrics such as polar fleece, towels and heavy knits like beanies can create a lot of issues when embroidering. First of all, the polar fleece and heavy knits have plenty of stretch. Second, all three types have a pile that can distort or hide the embroidery.

Fig. 3.1

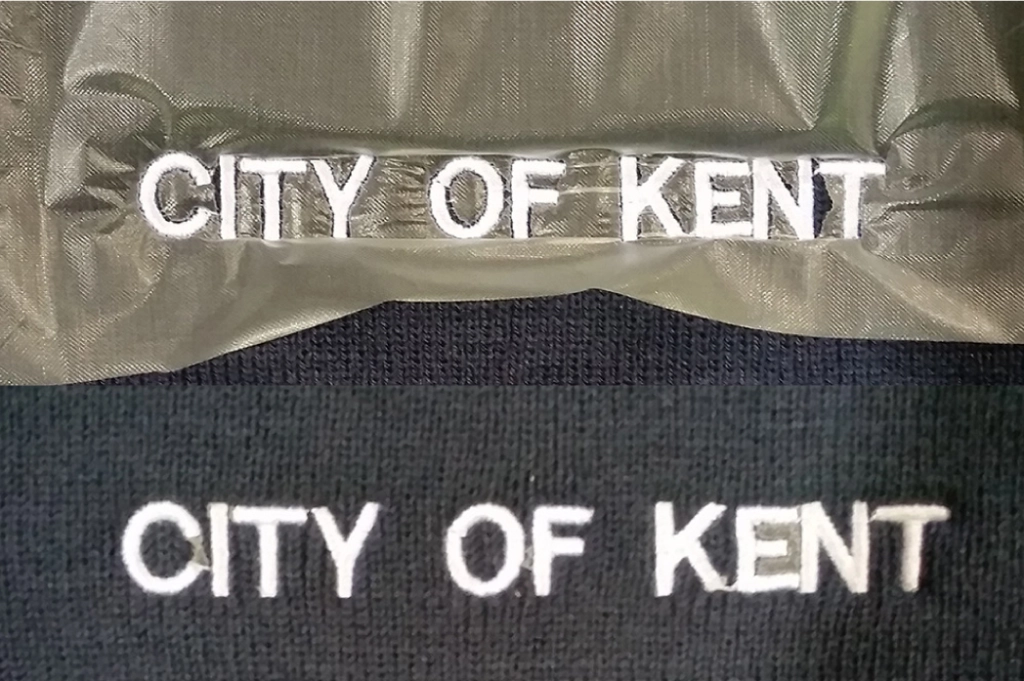
Underlay can prevent the letters from sinking and distorting their shapes, however thinner strokes do not have enough room for the type and amount of underlay needed (fig 3.2.)

This is where tackdown comes in. Tackdown is an open layer of ceeding (also known as Tatami or fill stitch) laying down in one direction and again in the opposite direction to make an x pattern that provides a more stable surface for the embroidery (fig. 3.1, 3.3, and 3.4.)

Fig. 3.2 – The above set is too thin for the amount of underlay needed for fleece, towels and heavy knits. Tackdown would help tremendously with this font. This font is 6.4 mm/.25″ High and at the minimum recommended for fleece with a tackdown.
Fig. 3.3 – A criss-crossing formation made of run stitches or open tatami fill tamps down the area behind and around the design, keeping troublesome pile of fabric from peaking through or covering the design. It also helps keep the fabric from stretching and limits distortion of the stitching.
Fig. 3.4 – Finished product on polar fleece. Note how the ends in the N and k of “No Tackdown” appear to sink and or shift while the letters in “With Tackdown” all look straight, even and bolder. All letters were digitized with the same stroke width.
Fig. 4.1 – Letters should be thick and tall. This is recommended minimum for fleece, towels and heavy knits without tackdown. 7.6mm/.3″ in height.

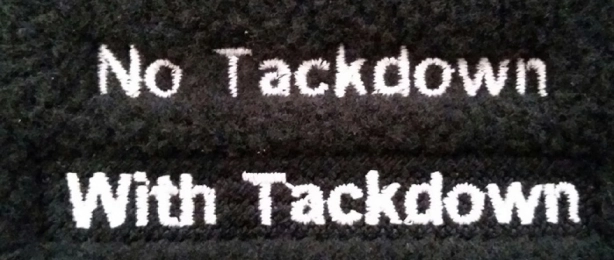
Tackdown keeps the letters from sinking as much and also makes a barrier away from the letters to keep high pile fabric from covering the embroidery. Without tackdown, you will need bigger and bolder letters (fig. 4.1.) Even then, there may still be issues some issues with the fabric peaking through or over letters.

Making the tatami stitch open reduces the amount of stitches. The tackdown is always meant to match the color of the garment so it is less obtrusive than just a box of regular tatami stitching.

Fig 4.2 – This is stock lettering on a knit beanie. Distortion is quite noticeable especially in the F and T. This is a great candidate for water soluble topping.

Tackdown can be any shape you want and can go around an entire logo if necessary.

Sometimes you just can’t use tackdown. Maybe size does not allow it, or the customer just doesn’t like it, or if you are using stock lettering that just isn’t coming out right. If you find yourself with a design that isn’t working try a water soluble topping (fig. 4.2 and 4.3.)

Fig. 4.3 – Water soluble topping is applied on top of the garment before embroidering. After embroidery is complete, tear away the larger pieces, then pick out as much of the smaller pieces. Then dab lightly with a damp cloth or a steamer.

Just apply a layer or two to the surface of the fabric and start embroidering. To remove the topping, tear it away and pick out as much remaining pieces as you can. Then lightly dab with wet cloth or steamer.

Pique, tees, and performance wear are stretchy and small lettering gets more difficult. With these fabrics, there is a need for more underlay. Underlay will help stabilize the stretchines and in the case of pique and tees, also prevent excessive sinkage.

Absolute Minimum Height for All Caps is 5.5mm/.21”

Absolute Minimum for Upper & Lower Case Letters is 6.2mm/.24”.

Letter stroke can be no smaller than .6mm

Previous Article Small Lettering Guide – Part 2
Next Article The Right Software For The Job
  Rate this article:

0 / 5. 0

0 comments on article "Small Lettering Guide – Part 1"

Leave a comment

Your email address will not be published. Required fields are marked *

*

How to Prevent Puckering in Fabrics

Puckering can ruin an otherwise perfect embroidery. Here’s how to avoid it, especially with tricky fabrics like performance wear. 1. Manage Satin Stitches Wide satin stitches (over 4 mm) often cause puckering, especially on stretchy fabrics. Keep stitches under 4 mm to avoid pulling the fabric. The wider the satin stitch, the more likely the […]

Continue Reading →

What fabric type should I choose for my order?

When placing an order for digitizing embroidery, one of the most common questions is, “What fabric type should I choose?” This decision is crucial as it impacts the quality and precision of the embroidery. Understanding the fabric type you will be working with helps us tailor the digitizing process to ensure the best possible results.  […]

Continue Reading →

Transform Your Apparel with Distress Overlays in DTF Printing

Direct to Film Transfers (DTF) What is distress, and how is it utilized in DTF printing? Distress is a design technique where deliberate imperfections are added to the artwork digitally before printing. This overlay reduces the amount of ink deposited, resulting in a softer feel on the garment and allowing for greater flexibility and breathability […]

Continue Reading →

We offer Exact Sew Outs!

Make it easier for your customers to see what the finished product will look like.

We wanted to give you more options to streamline your customer approval process. A lot of our…

Continue Reading →
12345